
I will go trough basic steps for installing Active Directory on Windows Server 2012 R2. I will not go trough network or routing configuration. I assume network is already set up. I will also not go into all available options during install. I will just go trough steps to install Active Directory Services. I will use fresh installation of Windows Server 2012 R2.
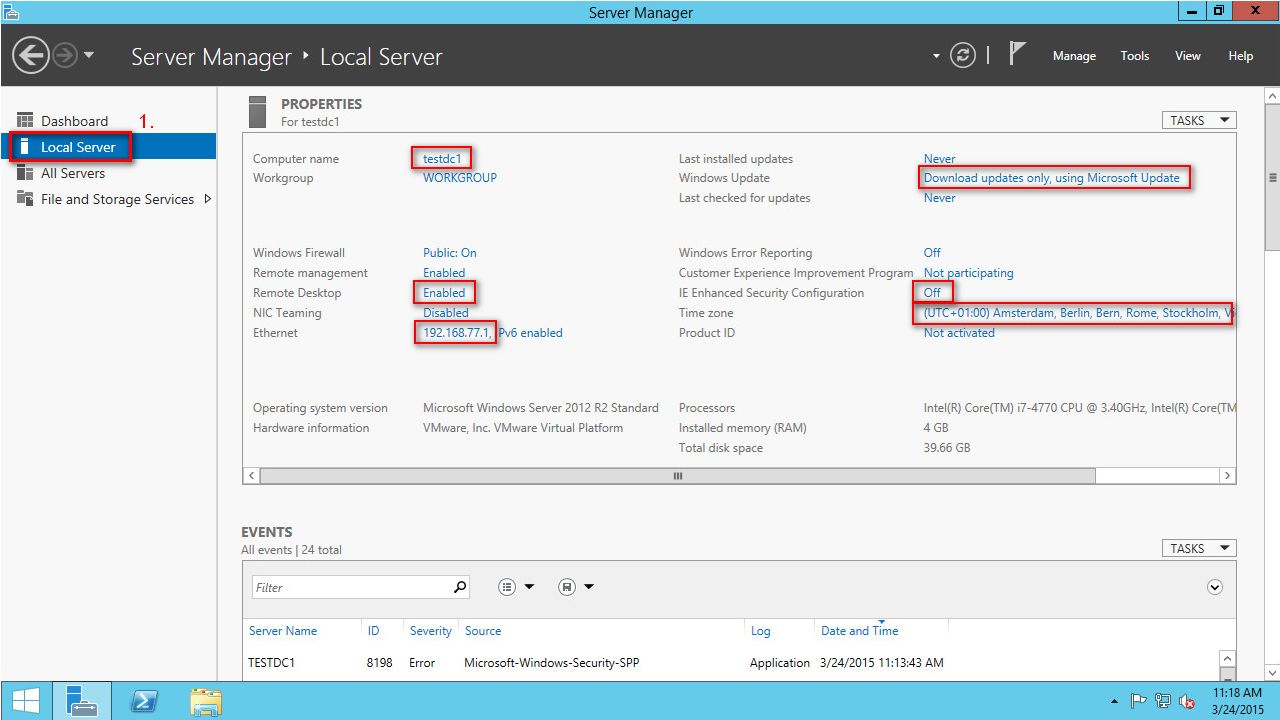
Open ‘Server Manager’ and open ‘Local Server’. On this screen set ‘Computer name’, ‘IP address’, ‘Time zone and time’. You can also enable ‘Remote Desktop’, disable ‘IE Enhanced Security configuration’ and set ‘Windows update’ settings.
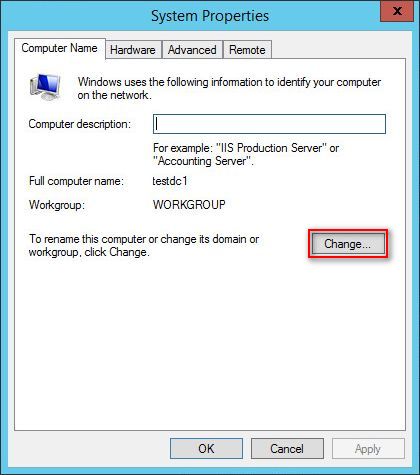
To change the conputer name click computer name and ‘System Properties’ will open. Then click on ‘Change’ button.
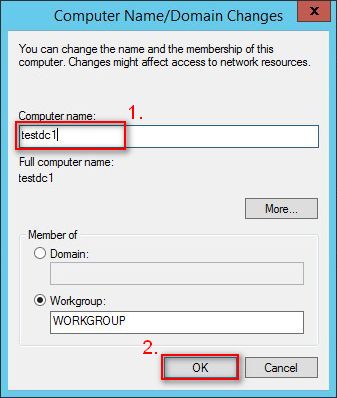
Type new name for the server and click OK.
After you change server name you should reboot you computer before you proceed. Click OK.

When server is restarted open ‘Server Manager’ and open ‘Local Server’. From here you can also change IP address. Active Directory server should have fixed IP address. Change IP to static.
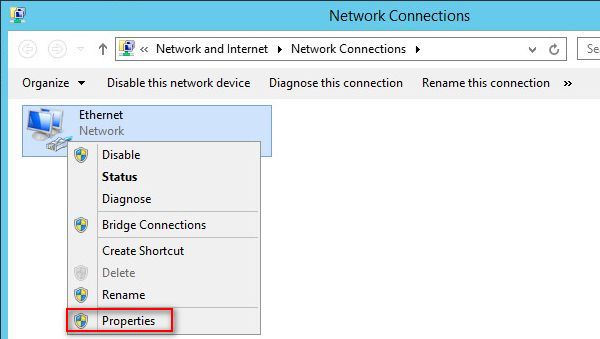
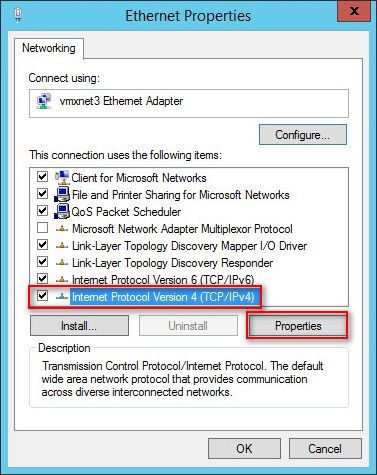
Right click on you network adapter and choose (with left click) ‘Properties’
Select ‘Internet Protocol Version 4’ and click ‘Properties’
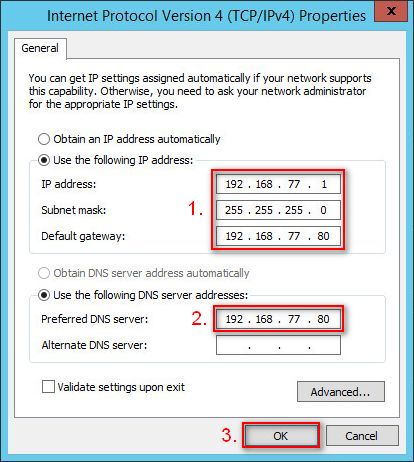
Enter your IP settings for your network. Click OK to finish.
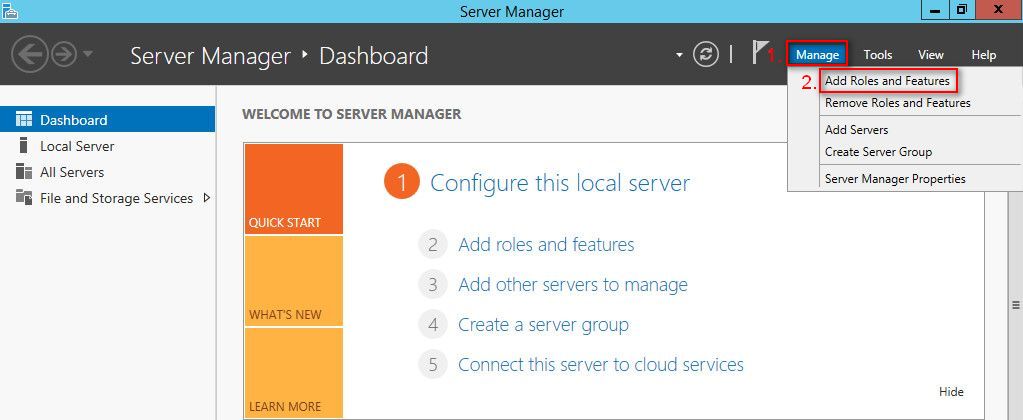
When you finish setting basic settings for you server, name, ip … You can start installing Active Directory. From ‘Server Manager’ click on ‘Manage’ and choose ‘Add Roles and Features’
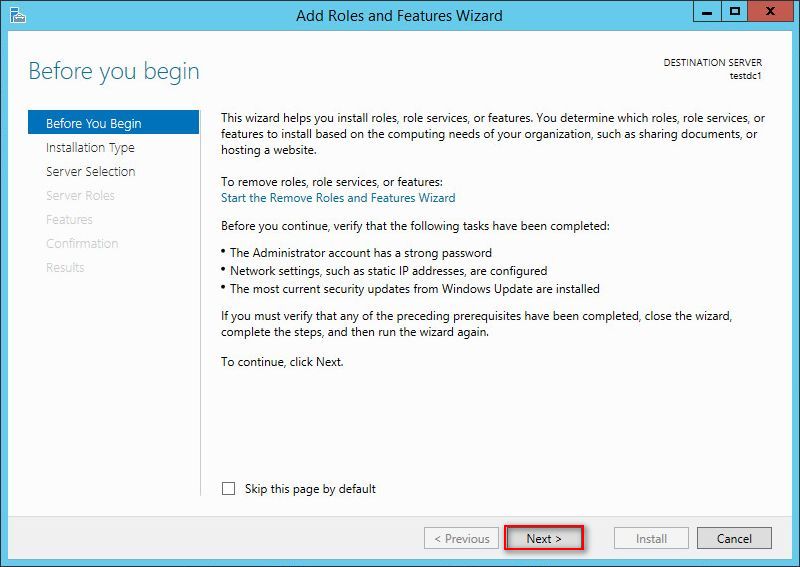
The ‘Add Roles and Features Wizard’ will start. Read and click ‘Next’.
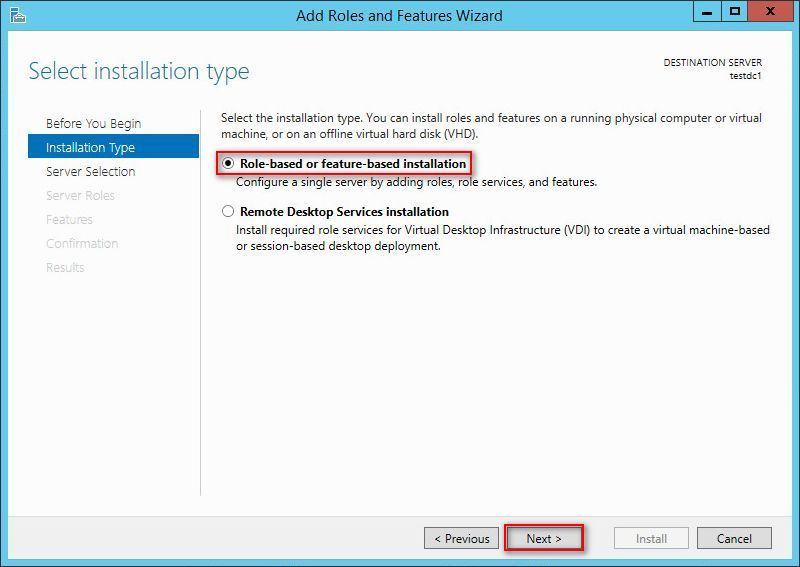
For ‘Installation type’ select ‘Role-based or feature-based installation’. Click ‘Next’.
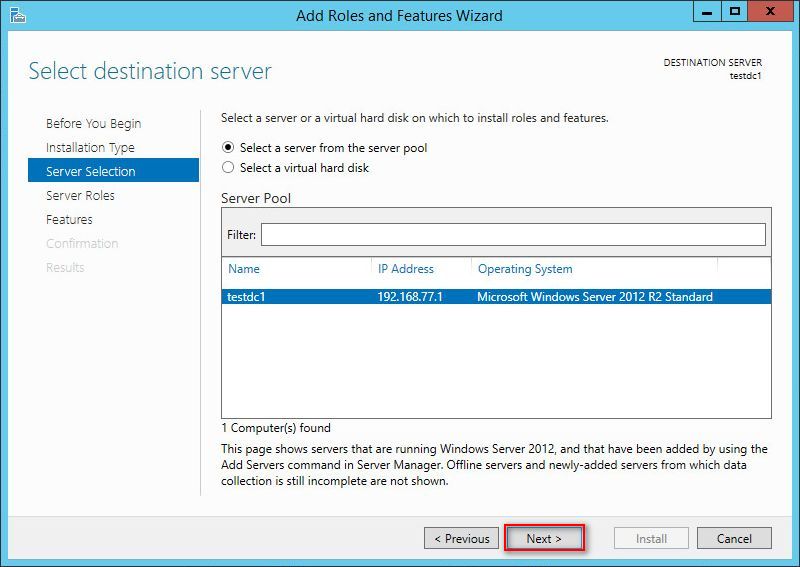
Select your server and click ‘Next’
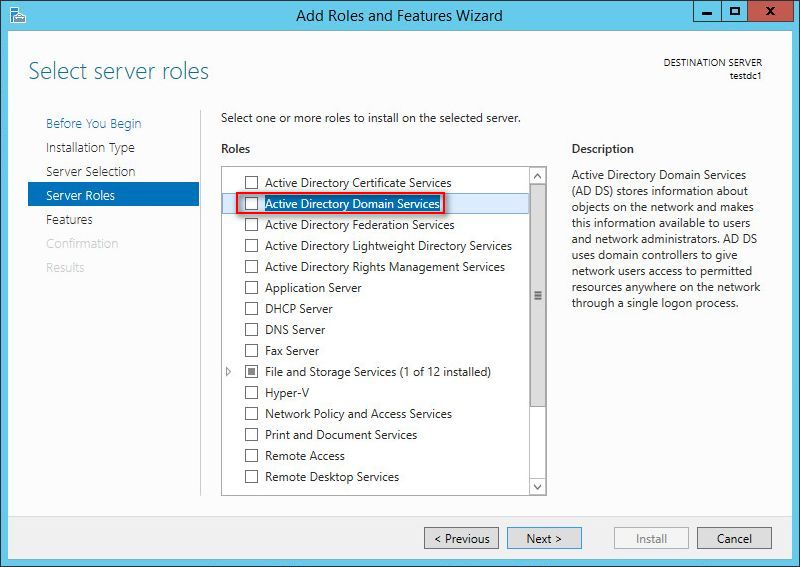
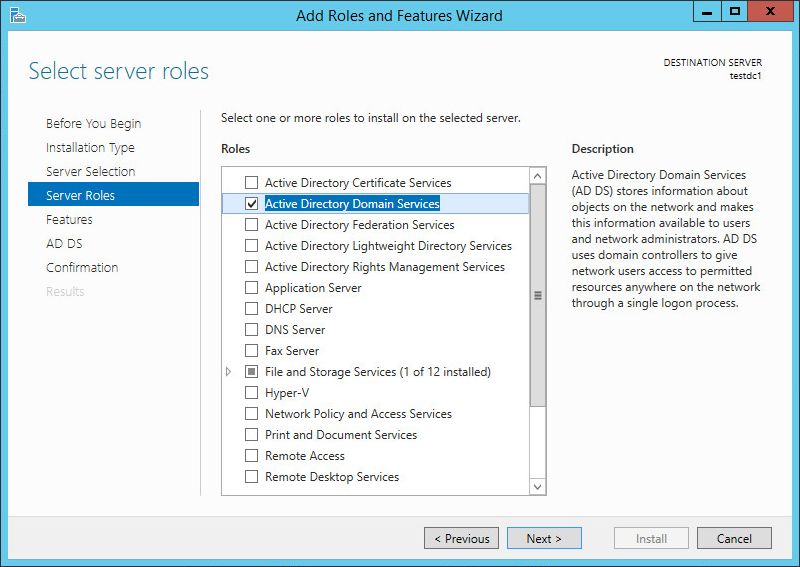
Select ‘Active Directory Domain Services’
When you select ‘Active Directory Domain Services’ you will be prompted to add features that are required. Click ‘Add Features’

Active Directory Domains Services is Selected.
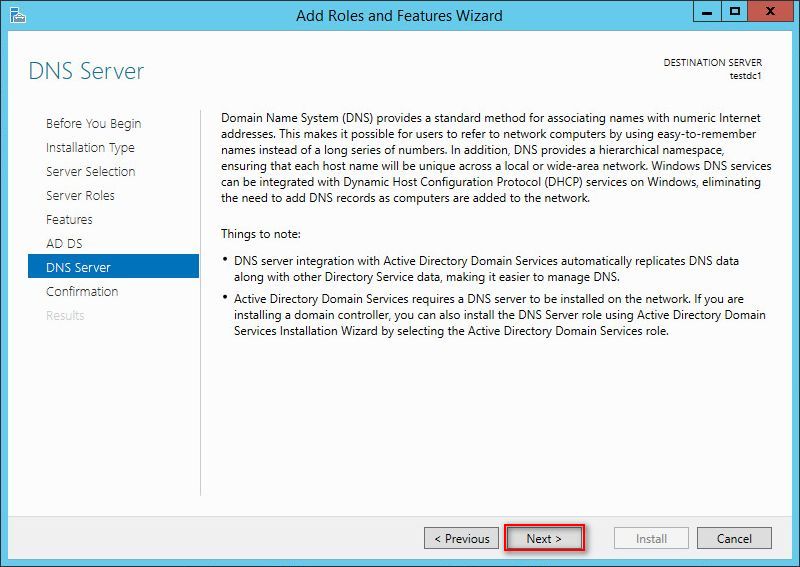
Select ‘DNS Server’.

When you select ‘DNS Server’ you will be prompted to add features that are required. Click ‘Add Features’

DNS Server is selected. Click ‘Next’.

Click ‘Next’.

Click ‘Next’.

Click ‘Next’.
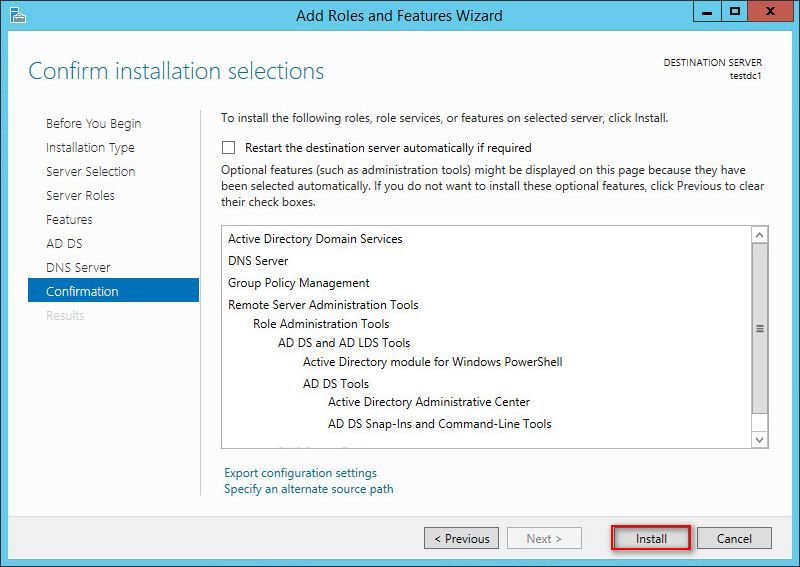
On ‘Confirm installation selections’ click ‘Install’ to start installing Active Directory Domain Services.
If you closed ‘Add Roles and Features Wizard’ skip the next step.
When installation is finished you can click on ‘Promote this server to a domain controller’.

You can also promote server to domain controller from ‘Server Manager’. Click on yellow exclamation mark and select ‘Promote this server to a domain controller’.

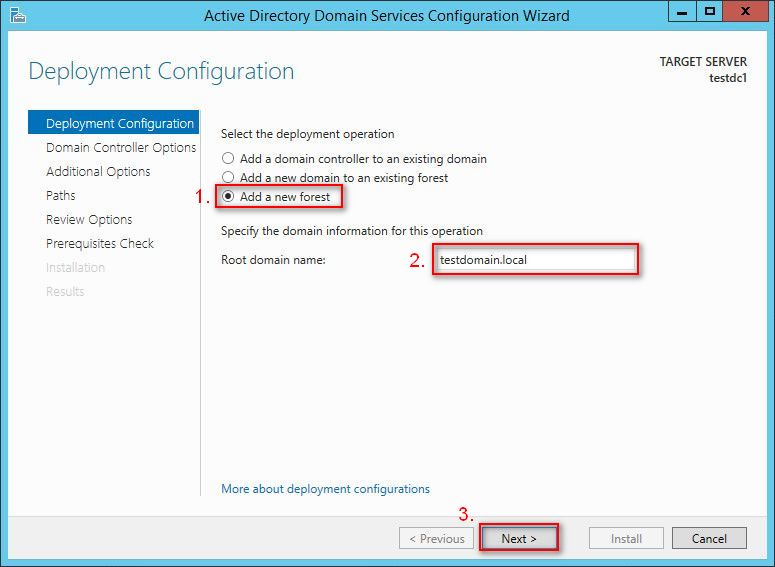
Choose ‘Deployment operation’. In this example I’m installing new forest. Enter ‘Root domain name’. Click ‘Next’.
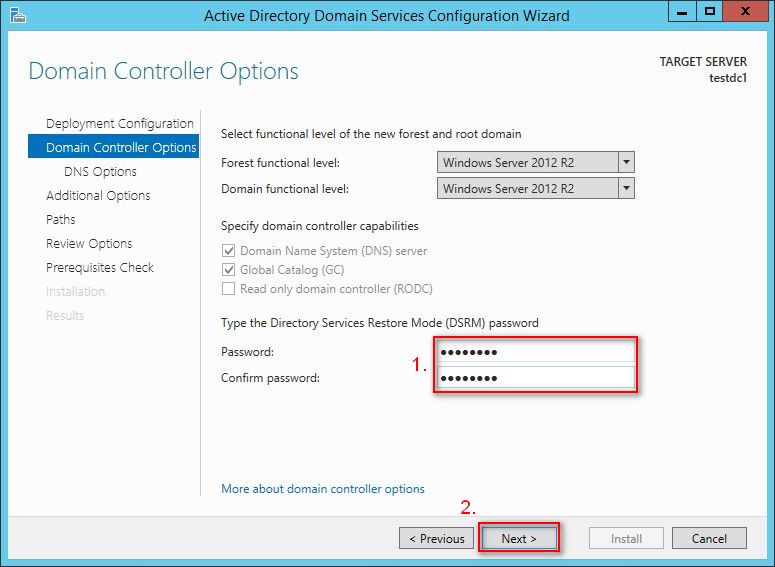
You can select ‘functional level of fores’ and you need to enter ‘Directory Services Restore Mode password’. This is NOT password that you will use to log on to new domain. This password you will use if something goes wrong with your Active Directory.
When you need to repair your Active Directory you will have to start Windows Active Directory server in ‘Directory Services Repair Mode’ and you will use this password to log in. Hopefully you will never have to use it. But keep this password in case you need it.
Click ‘Next’
Click ‘Next’

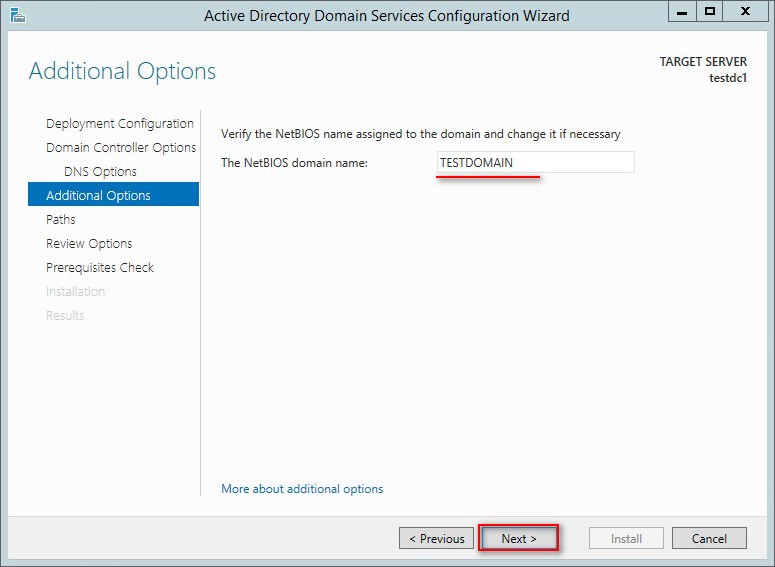
In ‘Additional option’ wizard will use first part of you FQDN. You don’t need to change it.
Click ‘Next’
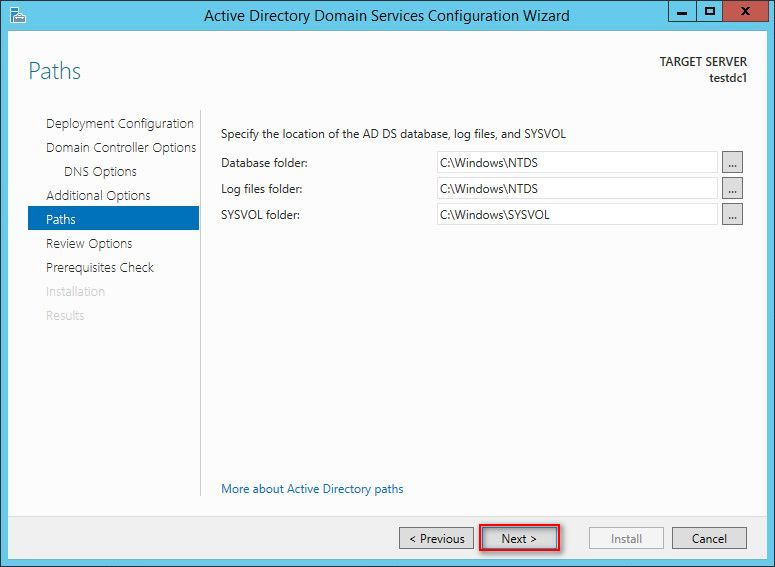
Click ‘Next’
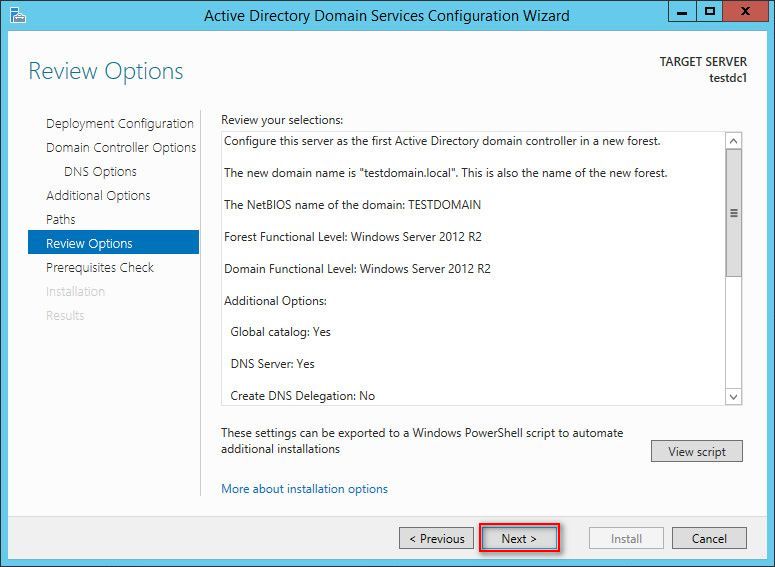
Click ‘Next’
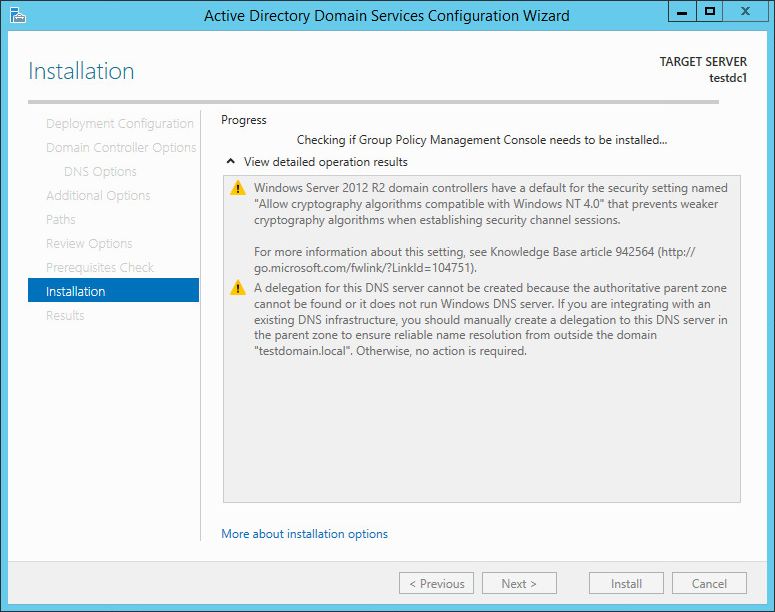
Click ‘Install’ to start domain controller promotion.
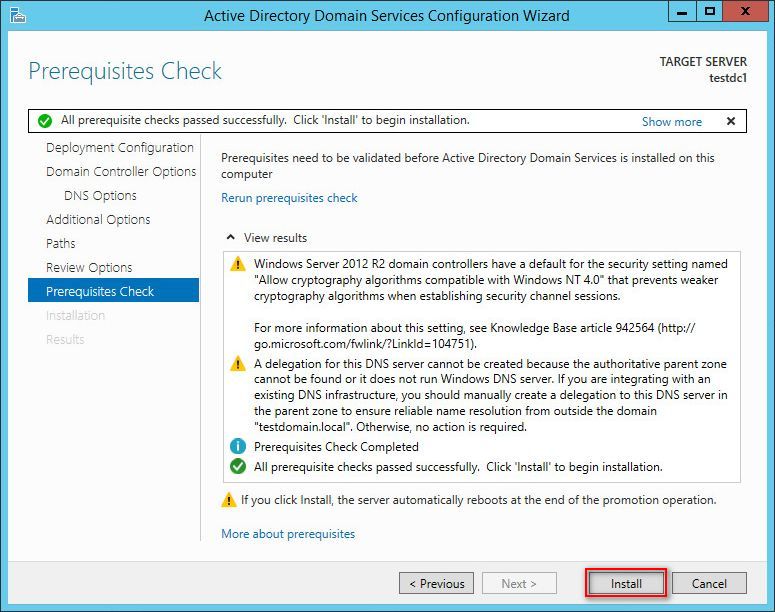
Installation will start. Server will reboot automatically when installation is over.
Domain Administrator password will be same as Administrator password before you promoted server to Domain Controller. Domain Controller does not have ‘Local Security’ and does not have ‘Local Administrator’ account. On domain controller you can log on only using Domain Administrators credentials.
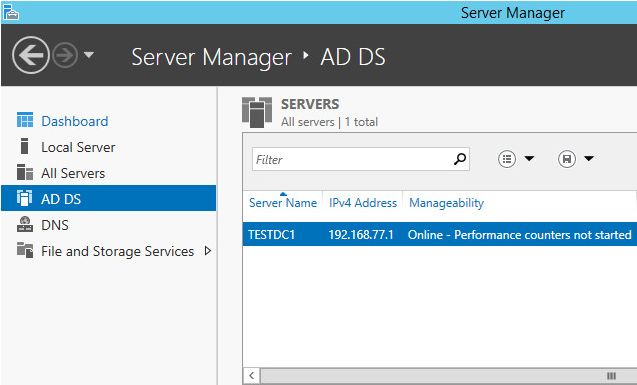
Now you have new menus in ‘Server Manager’
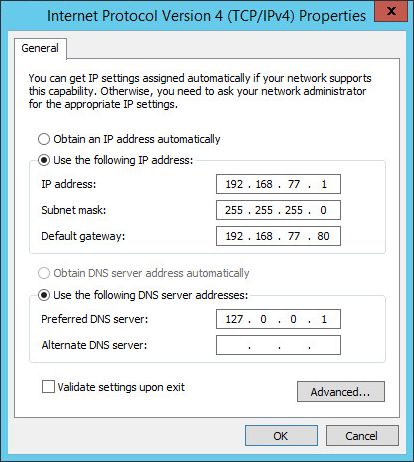
When you check TCP/IP v4 settings you will notice that Preferred DNS is set to 127.0.0.1. Domain controller will query DNS server on itself that was installed during domain controller promotion. DNS is ‘heart’ of Microsoft Active Directory Services. Do not change this settings.
If you check forwarder settings in DNS server settings you will notice that forwarder is set to DNS server that was preferred DNS server before domain controller promotion.
This way server will query local DNS server who will forward query to your ISP or other DNS server you used before installing local DNS server.

Enjoy your new Domain controller.